I Paint with Acrylics, and over the years I have used many different supports to work upon, including canvas, wood, metal, plastics and cloth materials. Presently, not withstanding a special project or need, I work exclusively on cradled wood panels. I find wood supports to be the most archival, (lasting the longest), strongest and can be made to have the smoothest surface to paint upon, which is very important if you are painting realism, and high detail as I do.
A brief history:
The earliest known works on wood date back to the first century. Painting on wood panels was the preferred technique until the first half of the 16th century, when Canvas was introduced to the art world. Most of the famous Renaissance painters we all have heard of, including Raphael, and Leonardo da Vinci worked primarily on a wood support. During the Baroque period, following the Renaissance, from 1600-1750, Canvas started to become more widely used, and has been the case ever since.
Pre-Painting preparation of a wood panel:
Before I can start the painting on my wood panels, I need to prepare them. There are a few steps to this:
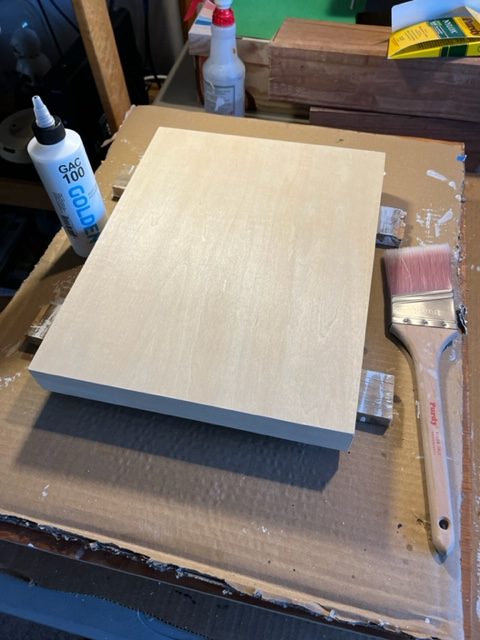
First: A clear sealer must be applied to the panel, painted or sprayed, I paint it on, to keep the wood from leaching it’s lignin’s and tannins into the paint which can cause a discoloration. Also this sealer will keep moisture from getting into the wood, which can cause warping and other atmospheric anomalies. I use Goldens GAC 100 as a sealer, you can see this product in the first picture above. I put on 2 coats front and back with about 2 hours minimum in between.
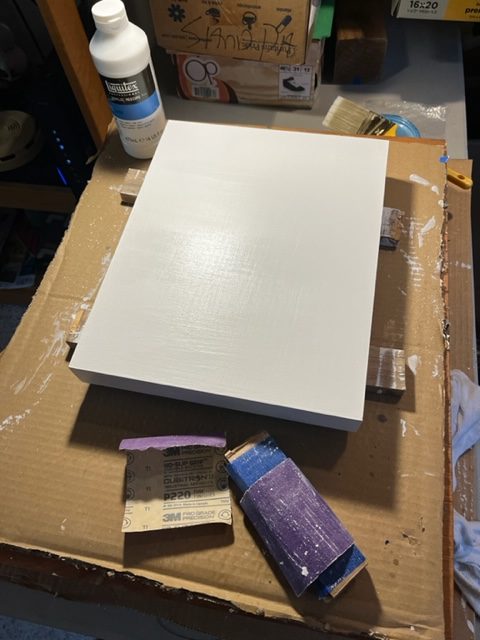
Second: I paint the front and sides of the panel with white gesso. This acrylic medium gives the future coats of paint a good ground to lay on, and adhere to. I usually paint on a total of 4 to 6 coats of gesso, and in between coats I sand to smooth out the brush strokes. I use first 150, then 220 and on the last coat 400 grit sandpaper to get the surface literally shiny smooth. I give the coats another minimum of 2 hours in between. I also change the direction on each coat of gesso applied. First I paint it on vertically, then on the next coat will paint it on horizontally. This makes for good coverage, and helps to even and smooth out the brush strokes. The photo below shows a wood panel being gesso’d, and the Liquitex gesso and sandpaper I used. You can see brush strokes on the panel in this picture, this was before sanding. When completed the surface is shiny smooth, allowing me to create very intricate detail.
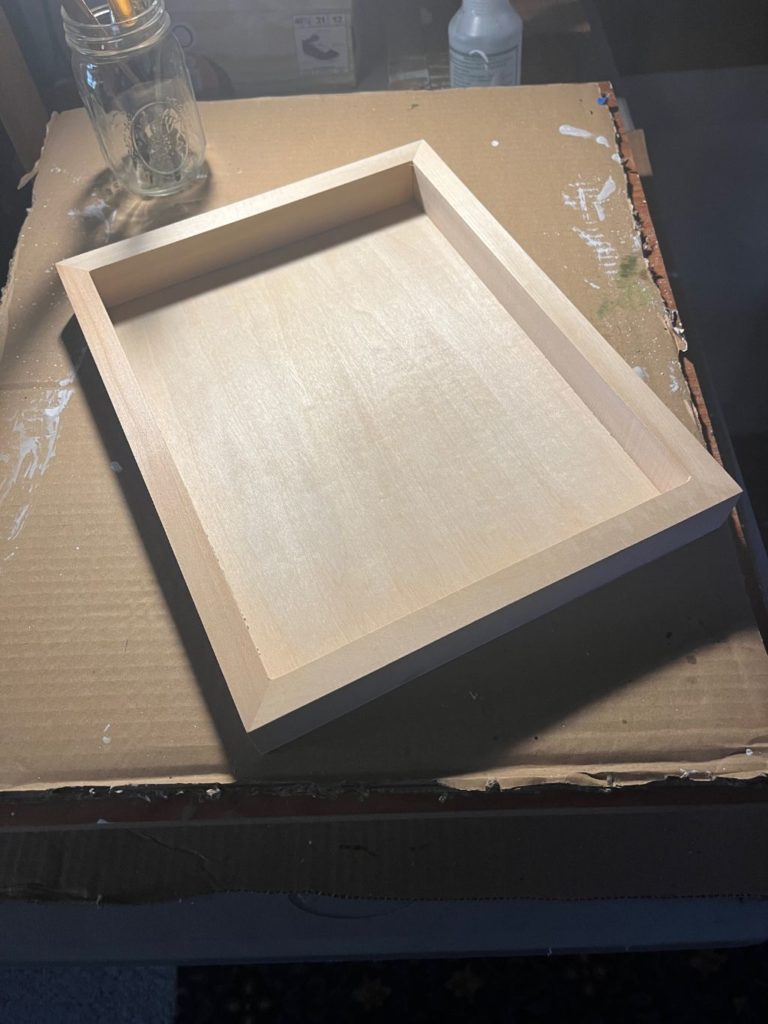
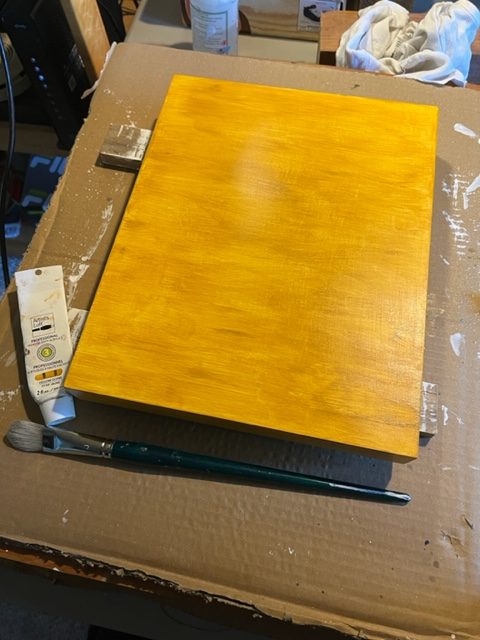
Third and last: I need to paint an under painting color ground onto the gesso. I use Yellow Ocher usually for all my pet portrait and wildlife works. This color goes on the front and sides of the cradled panel in the same manner as the gesso, except I only paint on 2 coats and do not sand in between. This color ground gives me a natural color base to paint, so as not to have a stark white beneath the details. Also where future paint is applied thinly, a slight glow can occur throughout the composition. This is really useful in depicting an animal’s coat, the sky, fields of grass or bodies of water. The picture below shows a panel with its yellow Ochre underpainting. I am now ready for the real work to begin! But that process needs to be explained another time…
As you can see a lot of work goes into the preparation of a cradled wood panel, before the actual painting begins. I want my works to last for centuries, maybe longer! So spending this time preparing them is very important to me.
Questions? Let me know! You may comment on this blog post or email me from my contact page here: http://artbycy.com/contact-cy/
To see some examples of my Pet Portraiture please visit this page: http://artbycy.com/pet-portraits/ Or this website: www.petportraitsbycy.com
Thank you for reading this blog post and have a great day! -Cy